How To Use An iPad For Sheet Music
What to buy, how to set up iPadOS, how to get your music imported, helpful tips
The first time I performed on stage using only my iPad for music, I was pretty stressed. What if the battery dies? What if it randomly starts beeping? What if I’m stranded without music trying to sing German from memory?
Since then, I’ve gotten much more comfortable, and figured out a lot of little technical details. But I sometimes see people struggling with the same things I did, or wondering how to get started. I started jotting down my tips, which has turned into this – a primer for getting started on going digital with your music. (I’m primarily a vocalist and occasional piano player, but most of this should still apply if you play an instrument.)
Who this is for
A lot of musicians and singers would describe themselves as “not a nerd,” so I’ve tried to make this as straightforward as I can. However if you’re brand new to tablets or Apple devices, you might want to find a guide on the basics of things like installing apps first.
Here we go!
What to buy
I’m only talking about Apple’s products here. There are surely other tablets that will work for music, including some interesting options like the reMarkable with its e-ink screen, but I haven’t used them myself.
In my experience, Apple seems to have a monopoly on the tablets used in the music industry. Staying in the ecosystem has some benefits, like being able to quickly AirDrop music back and forth with other people, specialized hardware for turning pages, or an accompanist knowing how to adjust the brightness or other settings to their liking.
Which model?
So then, which iPad to buy for reading music?
Size
Since viewing sheet music does not require a ton of processing power or storage, the main thing we care about between the various models is screen size. Apple currently makes iPads with five different screen sizes: iPad Mini (8.3″), iPad (10.2″), iPad Air (10.9″) and iPad Pro (11″ and 12.9″).

We can rule out the iPad Mini and 10.2″ “just iPad” as being being too small, and count the 10.9″ screen of the iPad Air and the 11″ screen of the smaller iPad Pro as so similar that they might as well be the same size.
My answer is, spring for the 12.9″ iPad Pro if you can. It’s worth it. Since it’s more or less the size of a sheet of paper, you’re going to be much more comfortable than on the next smallest size. I initially worried if it was going to be too big, but it’s not.
If you don’t want to go with the large iPad Pro for whatever reason, choosing between the options for the next largest size will probably come down to price.
Other features
Storage capacity: Any capacity will be fine. My library of a little over 400 scores is currently using only 5GB of storage. (Sheet music is usually PDF files, which are made to be small.)
Cellular connectivity: I wouldn’t pay extra for this if music is your primary use. Remember that if you also have an iPhone and your cell plan allows tethering, you can connect the iPad to it and share its internet connection if you don’t have WiFi available.
Buy refurbished!
Save a few bucks by checking out the Refurbished section of Apple’s online store. In my experience the stuff they sell refurbished has been indistinguishable from new. (Note that other, non-Apple sites don’t have the same standards, which might cause trouble down the road. Probably don’t buy used or refurbished from anyone else.)
Currently, the cheapest available options for the iPad Pro are:
- 12.9″ for $899 (vs. $1,099 for new)
- 11″ for $549 (vs. $799 new)
Accessories
Apple Pencil

The Apple Pencil stylus ($99) is optional, but goes a long ways towards making the iPad feel like a piece of paper. Recommended if you ever make marks on your music, but you can also write or highlight with your finger if you don’t have one or forget it.
A good case
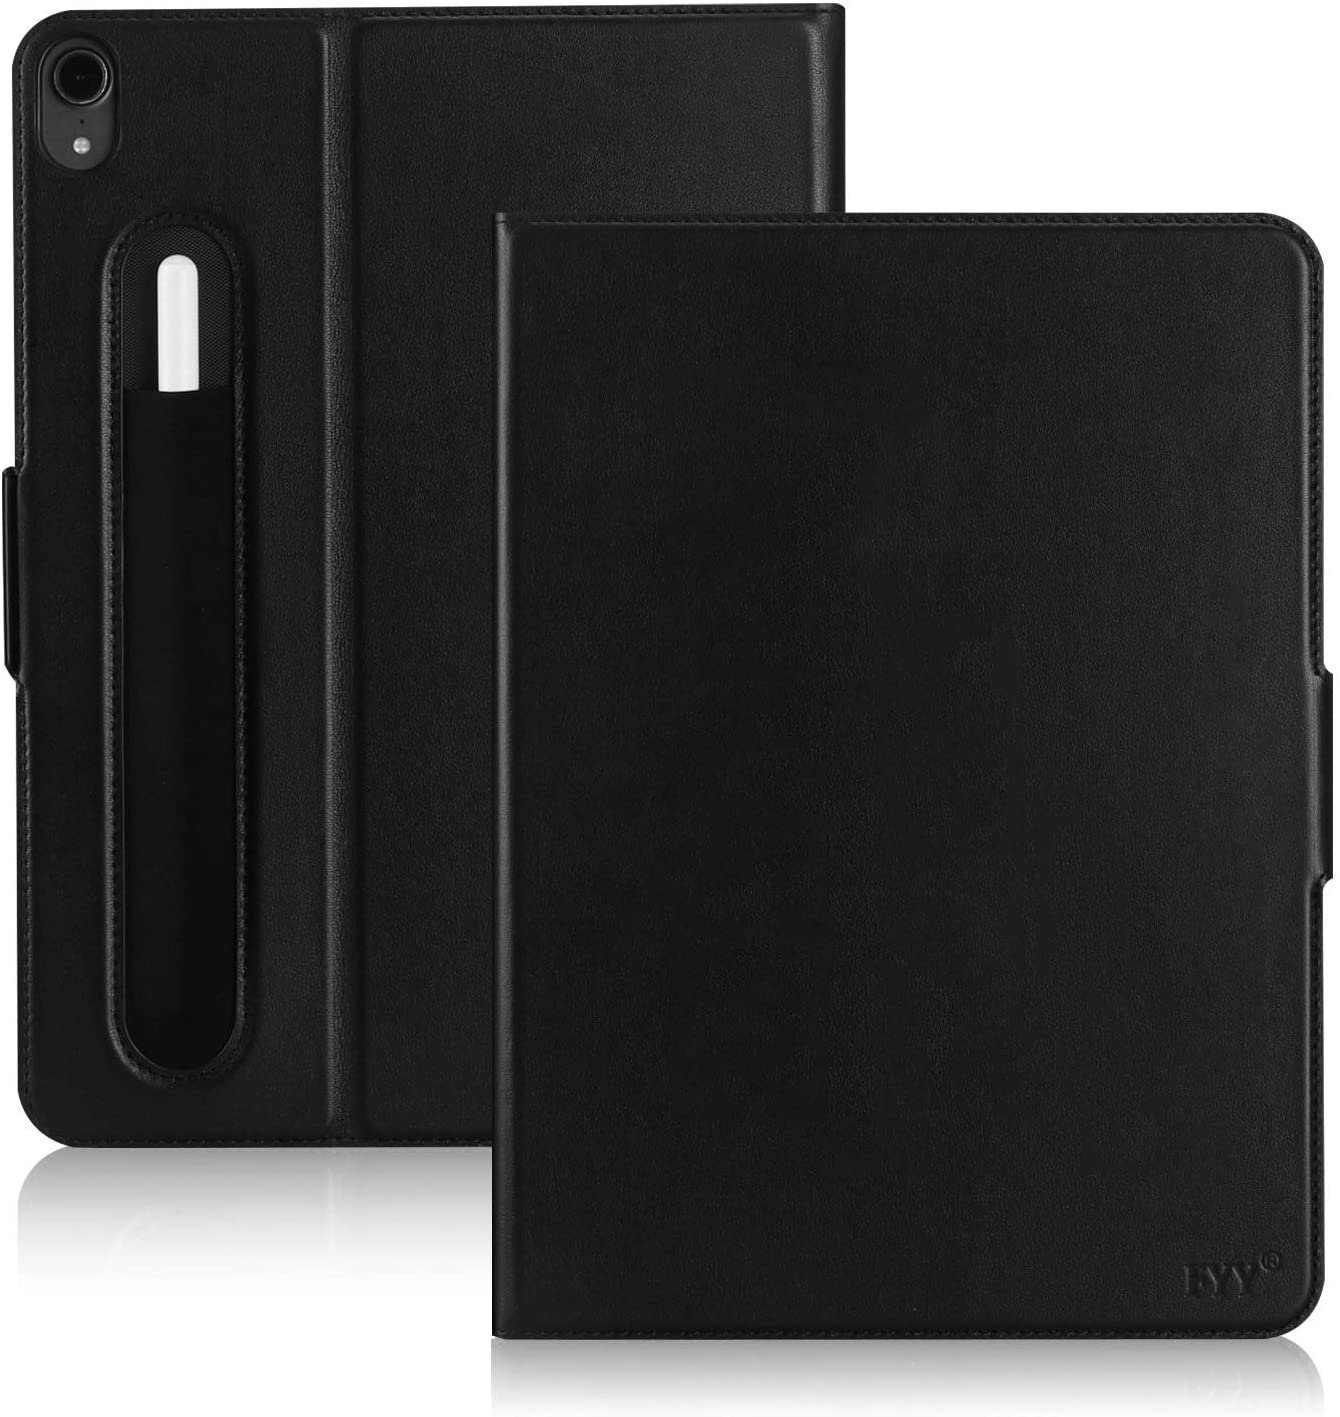
A nice case ($20-$30) is an under-appreciated finishing touch that can can protect your fancy new iPad while also giving it a lower profile, professional look. I like to downplay that I’m holding a computer in my hands, so I like a black, leather-like case without a lot of pockets or ridges to make the iPad look more like a music folder.
My top choice is this one from FYY ($18) or this one with from Ztotop with a front pocket ($30), both available on Amazon.
Paperlike screen protector
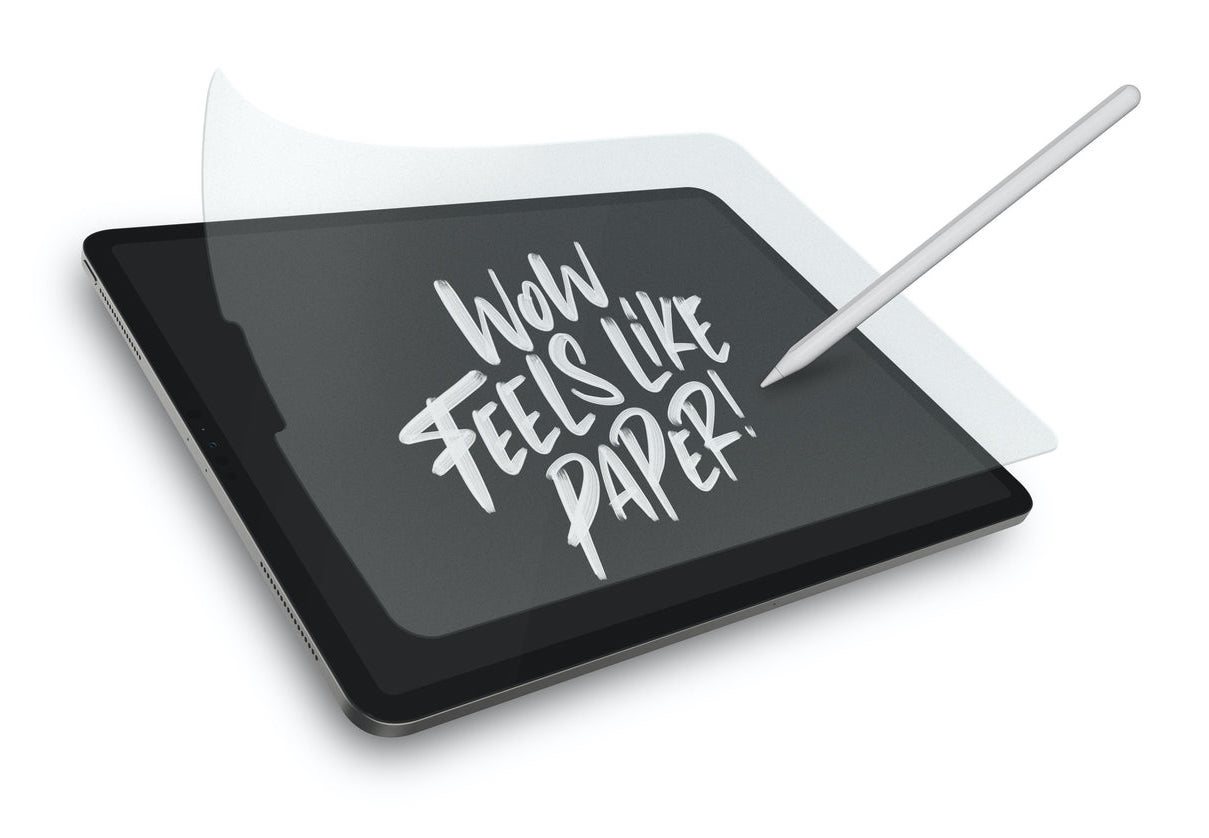
I’ll tell anyone who will listen about the Paperlike screen protector ($40). (Mr. Paperlike, if you’re reading, sponsor me.) It does what the name says – gives the glass screen of your iPad a matte finish that is like paper. This makes for a much nicer writing experience with the Pencil, but also reduces reading glare and makes turning pages easier, because your finger doesn’t get stuck.
Applying is a bit of an art, but they have a video tutorial that is very helpful for following along with.
iPadOS Setup
Ok then, you’ve got an iPad and are ready to get started. There are a few settings you should consider tweaking to make the most of it for music.
Sounds, Auto-Lock, and Notifications
When you’re looking at a score, you want your iPad to be a boring, quiet, consistent screen that doesn’t surprise you. Unfortunately, some of the default settings in its operating system (called iPadOS or iOS) aren’t ideal for that.
Note that if you’ll also be using your iPad as a more traditional tablet, you might not want all of these changes. For what it’s worth, I also use mine for watching movies and doing light web browsing, and I don’t feel like I’m missing out on anything.
Turn off every single one of the sounds. My personal biggest fear about using digital music is an unexpected ding or boop during a performance, so the rule here is “better safe than sorry.” In Settings app > Sounds, move the Ringer and Alerts slider all the way to the left, and disable Change with Buttons, so you can’t accidentally bump the side buttons and turn them back up. (You can always still control the volume with the control center menu in the upper right of the screen.) Turn off Keyboard Clicks and Lock Sound, and disable the sounds for the various notification types by tapping them and setting them to “None”.
Turn off Auto-Brightness. You want full control over screen brightness so your iPad doesn’t shift and light you up in a dark room, or pick a wrong level that’s hard to see in bright light. This setting also disables the automatic dimming that happens after a few seconds, so you won’t have to keep poking at your screen to keep it bright. (This is something I see pretty often, and it’s so easy to avoid.) Settings app > Accessibility > Display & Text Size, scroll down and switch off Auto-Brightness.
Set the Auto-Lock time to something long. This is another common problem I see, where folks look away from their music for a bit, and then have a slight panic to get it back. In Settings app > Display & Brightness > Auto-Lock, pick one of the longer options, like 10 minutes.
Turn off most notifications. If you have an iPhone, you’ll probably get more notifications on your iPad by default than you need. In Settings app > Notifications, turn off Reminders, Messages, and any other app that might bother you.
Consider disabling FaceTime and Messages completely. If you don’t plan on doing texting or video calls from the iPad, toggle them off in Settings app > FaceTime and Settings > Messages. An incoming call can be disruptive, even if you’re not performing.
Use Dark mode. This is a personal preference, but I think it’s nice for focusing on your content and not the screen elements around it. Settings app > Display & Brightness > select Dark at the top.
Set up a focus mode
If you feel like tinkering, Apple recently introduced a feature called Focus for controlling notifications. In theory you could create a mode that mutes notifications that automatically becomes enabled when you open your music app, but I haven’t experimented with it enough yet.
Turn off automatic updates
People might argue with me about this one, but it goes back to our goal of making your iPad as boring and predictable as possible. New software updates are (usually) great, but they can introduce new surprising features – or in rare cases, break things. Your music should be something you can rely on.
- Turn off iOS system updates: Settings app > General > Software Update > Automatic Updates, switch off “Install iPadOS Updates”
- When you’re ready to upgrade iOS, come back here, and tap Install under the new version if there is one.
- Turn off app updates: Settings app > App Store switch off “App Updates”
- Update your apps when you’re ready by going to the App Store app > tap your profile icon in the upper right of the screen > scroll down and tap “Update All” .
Remember that updates are important! You should try to run them every couple weeks or so… just not right before an important performance when you have other, more important things to worry about.
Turn on iCloud Backups
Even if music is not your livelihood, you’ll still put many hours into building your library, making notes, and getting things set just right. Make sure iCloud Backup is switched on in Settings app > tap your name in the upper left > iCloud > iCloud Backup > switch it on.
If something happens to your iPad, you’ll be able to restore right back to where you were the last time a backup ran.
Download forScore
Maybe some day I’ll do a deep dive into the various options for sheet music software and see what’s out there, but for my taste, forScore ($20) is the thing. It’s incredibly well made software, full of features, and reliable.
forScore is where you’ll keep and organize your various music files. When possible, I think it’s worth it to move PDFs into it instead of leaving them scattered around your iPad wherever they land when you first get them.
There is also an optional, $9.99/year Pro subscription that unlocks a few more features. You won’t need it to start, but I’ve appreciated having access to everything, and being able to throw a couple extra bucks towards these guys.
Getting music in there
Ok, great, we’re getting there. Now how do we get some actual music on this thing?
A crash course on working with PDFs
You’ll be working with PDF files pretty much exclusively. It’s a popular file format that can contain multiple pages that are either a scanned photo of a page (really just a picture), or vector files that have infinite resolution because they only store the shapes of the music and notes. The distinction doesn’t super matter, but you can usually tell the difference because vector files are much sharper and you’ll be able to select text on them.
For the most part, iOS doesn’t have the traditional “Open…” method that computers have used for forever. Instead of starting in the app where you want your file to end up (like forScore), start by looking at the PDF and saying where you want to send it to.
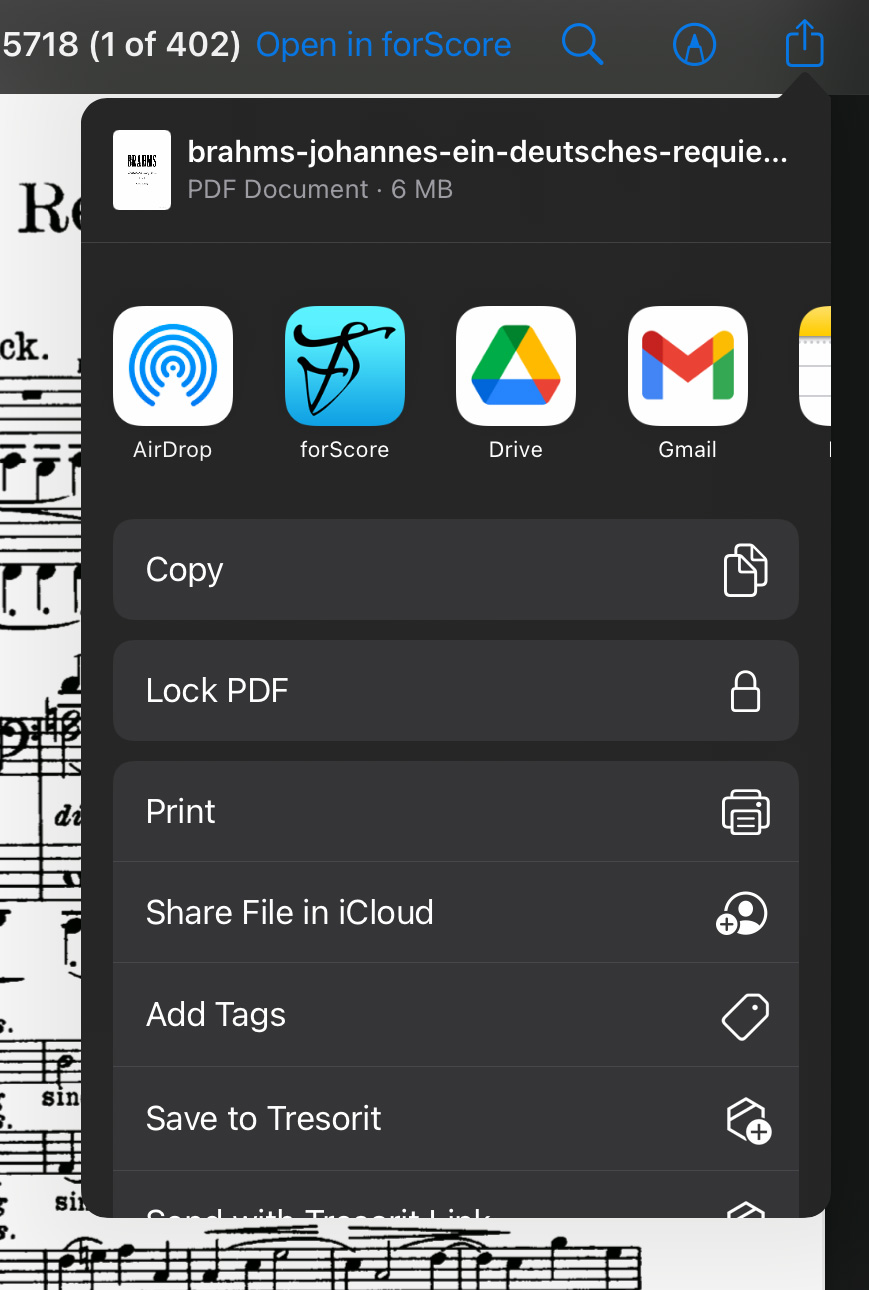
For this, the “out of the box” share button is your best friend. Most of the time, tapping it when you’re looking at a PDF will give you the option to open it in a variety of apps, including forScore.

Scanning printed music
Lower quality, but fast and free
Use your iPad’s camera with an app like Genius Scan (free), or forScore’s scan function. These apps let you take a photo of a piece of paper and automatically crop and straighten it, convert it to black and white, and turn it into a PDF you can import to forScore. There are several apps that do this same thing, Genius Scan is just the one I’ve personally landed on.
The scanning process can be done on the fly, which is extremely helpful in situations where you’re handed a piece of music and want it digital right away. However, the quality can be a little rough, especially if you don’t have an evenly lit, flat surface for the photo.
Higher quality, but slower and more expensive
Use a sheet feed scanner, like a ScanSnap. ($260 from Amazon, yikes.) Sheet feed scanners are great because they take multiple pieces of paper at a time and scan both sides of the page, automatically cropping, straightening, and color correcting. I’ve scanned entire out of print songbooks with this method by cutting off the spines and feeding them through.
The downside is the higher cost, and that you’ll probably need a “real” computer to hook the scanner up to, and then transfer the files you create to your iPad.
You might already have a scanner too, like one built into your printer. This is definitely an option, but make sure to review the settings before scanning – the defaults are likely set for full color photos, which may create much larger file sizes than a scanner that is configured for documents.
Scan a lot, but very slow and probably pricey
I’ve heard of people sending their sheet music to document scanning companies who will do the work for you and send you back PDFs. It may be an option if you’re trying to convert a lot of music when you first get going.
Downloading music
Buy it
There are several websites that sell downloadable sheet music for varying prices, usually around $10-$15.
- Just Google it! If a specific song is out there, it can probably be found just be searching for its name + sheet music.
- Musicnotes is possibly the most popular. They also have a great iPad app that allows for adjusting tempos, muting various lines, or transposing the entire song. I’ve heard they’ll even do things like create new transpositions if you email and ask.
- Sheet Music Direct also has a large library.
- Performer Stuff has a good collection of audition cuts resources for singers.
- Free-scores.com has some classical stuff.
Find it on Scribd
The secret weapon of a lot of performers is Scribd. ($9/month, pronounced like the end of “subscribed.”) It’s a book subscription service that also includes sheet music, and also has a “documents” section with some more obscure scores.
Share music in person
Apple’s AirDrop feature allows sharing files or images between iPads or iPhones without having to bother with emailing them, or even having the other person in your contacts. When you’re sent a PDF you’ll be asked what app you want to open it with, making it even easier to bring music directly into forScore.
It’s one of the best interactions that digital music enables, but annoyingly sometimes fails to show people nearby, or to prompt you to accept an incoming file. Toggling Bluetooth on and off usually fixes that.
(Remember, you can send files from anywhere you see a share icon! To send music already in your forScore library to someone else, tap the briefcase icon in the upper right, then Share, then AirDrop.)
A secret tip for saving music out of almost any app
I’m almost hesitant to share this one, but it’s an official iOS feature, just not well known!
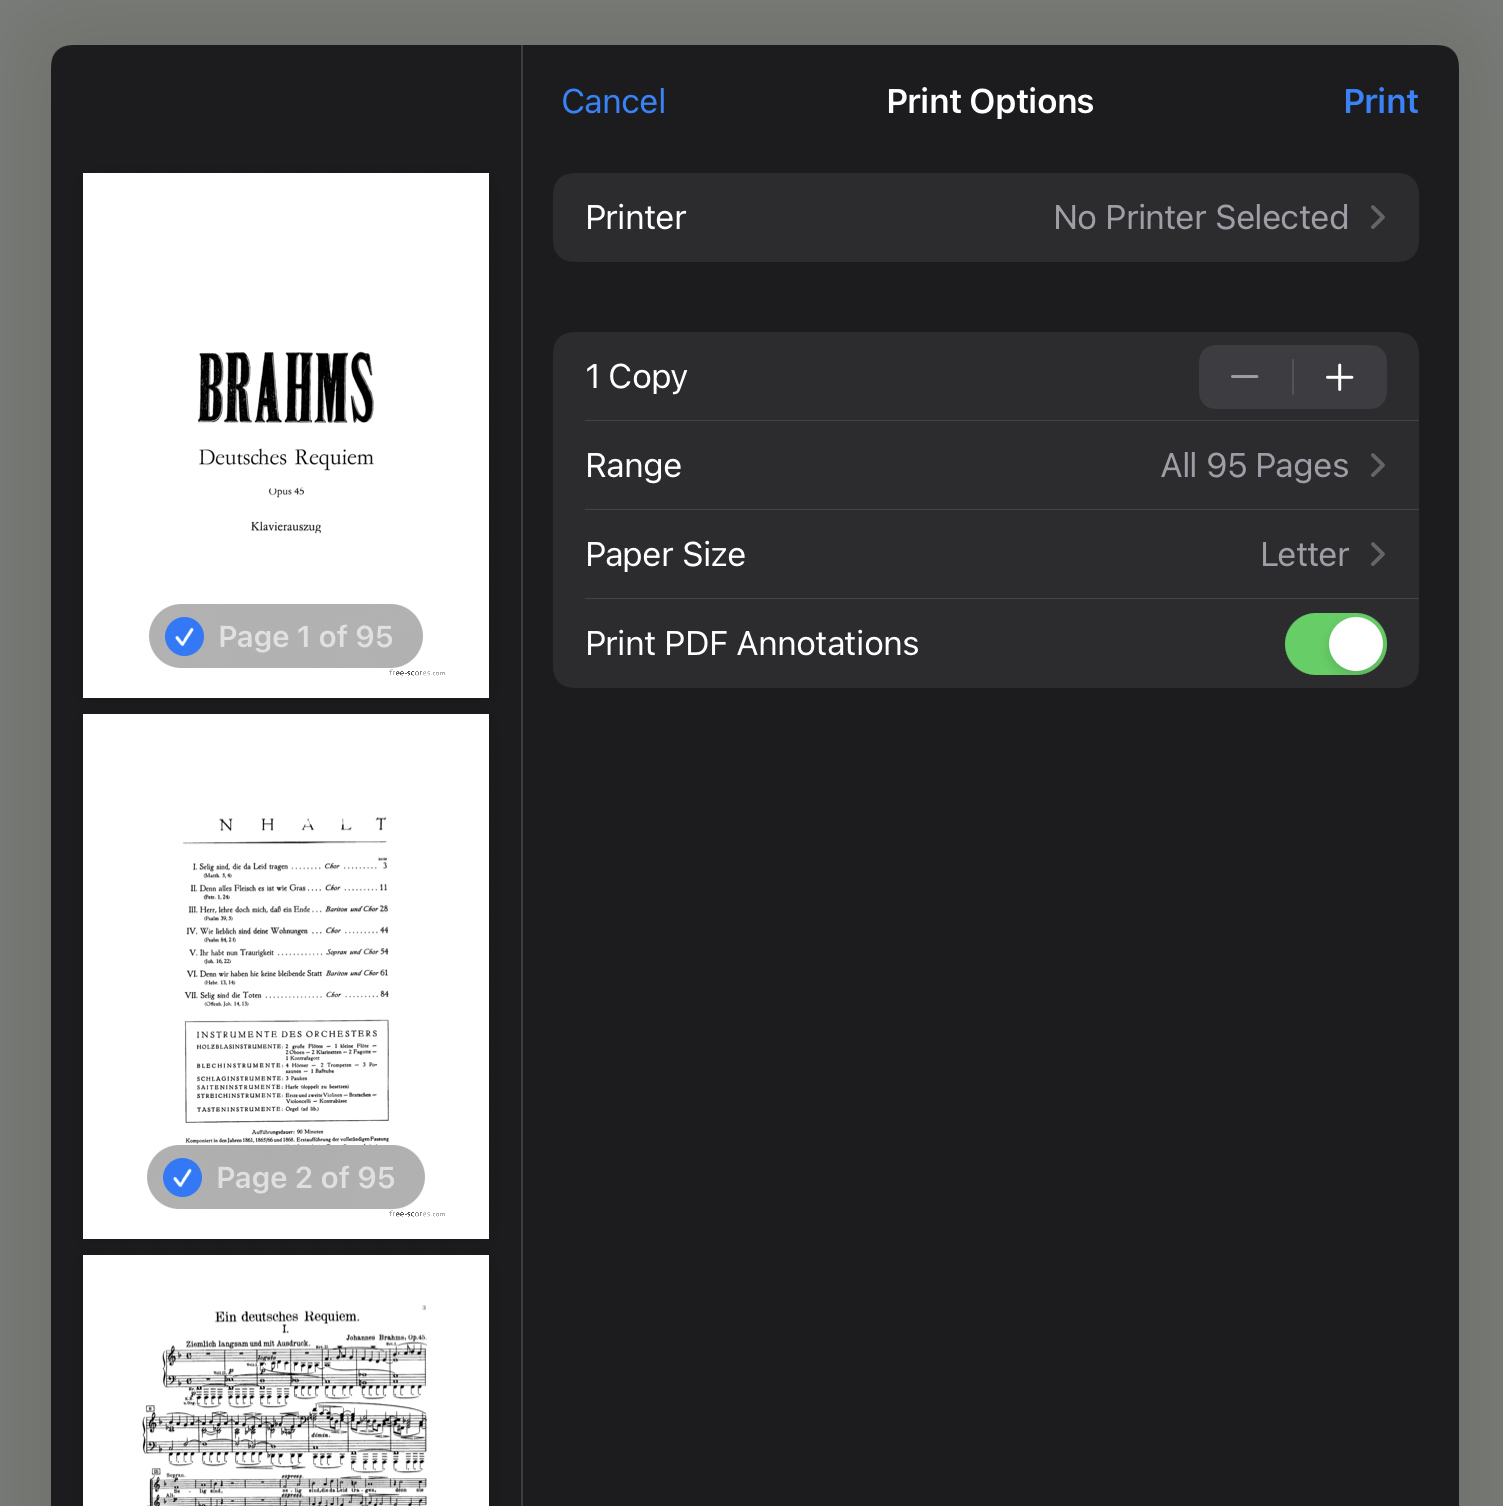
Some apps, for whatever reason, don’t let you simply share a PDF you can import into forScore – but they DO allow printing. Well, if you can print, you can save:
- Select the Print option as if you were going to print
- The left side of the dialog that pops up will show an overview of the pages to be printed
- Do the “pinch to zoom” gesture on one of the pages, as if you want to make it bigger
- Ta-da, you now have a PDF with a share button you can use to send it wherever you need it
Play back your sheet music
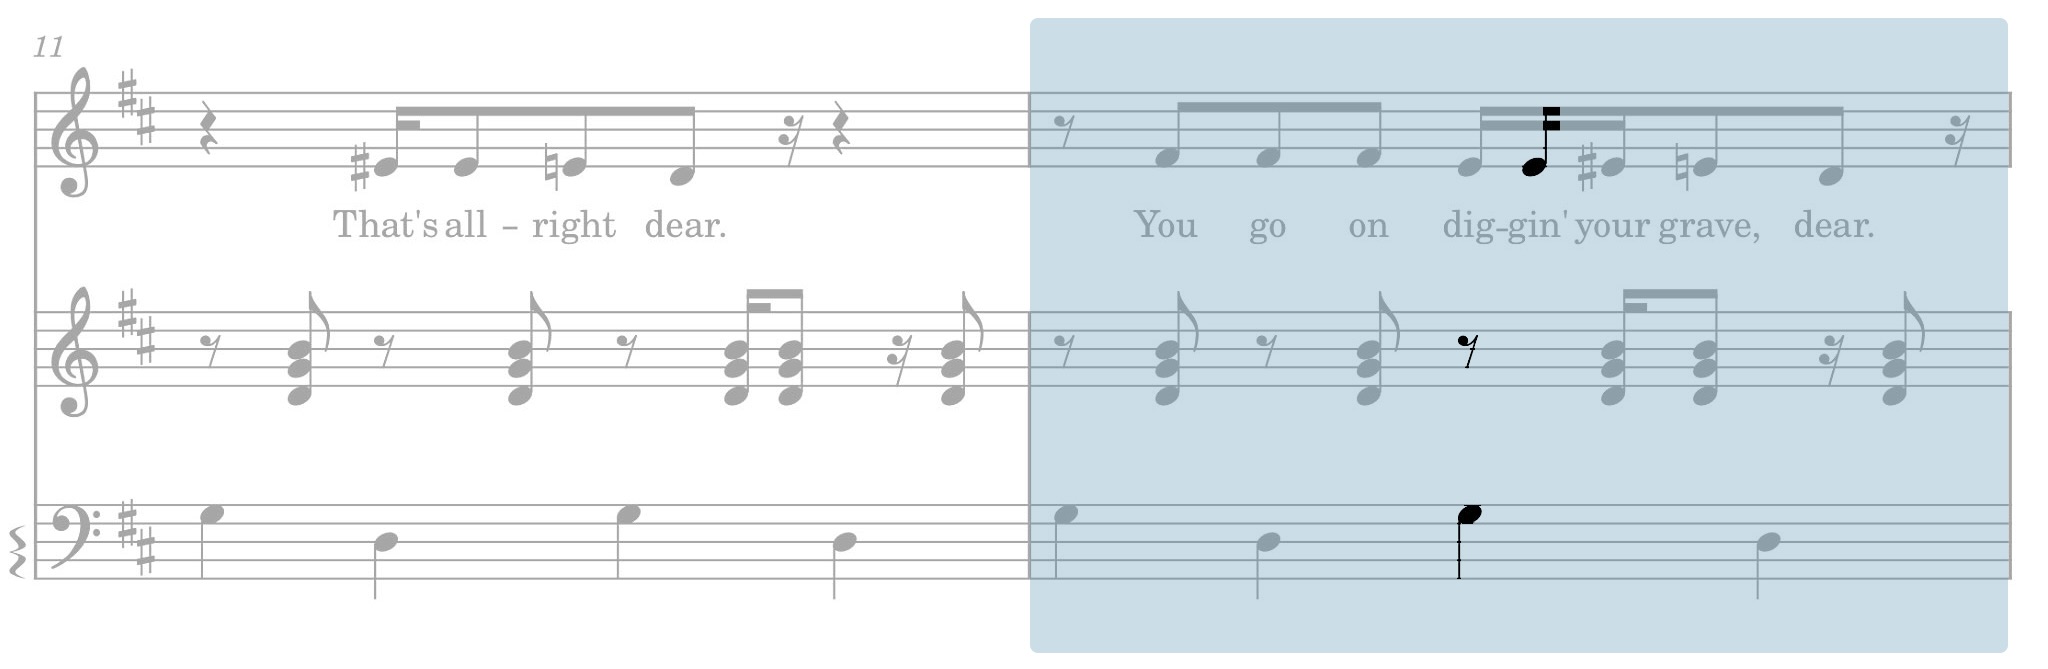
You will play your music, obviously, but now that it’s digitized there’s another option: apps that take the pages you scanned and play the notes for you.
This is another one of those things that almost feels like cheating when you’re learning a piece and don’t have a rehearsal track or want to plunk things out for yourself. You’ll need another app; the best I’ve found is the Sheet Music Scanner app ($4.99 one time purchase), though I’ve also used PlayScore 2.
Follow the “share” guidelines for getting your music out of Scribd and into the playback app. The quality of your score or scan can really make a difference here, but usually the apps will be able to analyze your whole score and even separate out the different lines and allow you to play just the backing or just your vocal line, etc.
By the way: Muiscnotes‘s really great app will also do this, but it only works with scores bought directly from them. Still, it’s good enough that sometimes I’ll re-buy things from them, just to have the playback option.
Other tips
Get to know your new toy
Getting to know your iPad and its features will only make your life easier. A silly example: more than once, I’ve seen someone set their iPad on a music stand upside down. This is generally fine; iOS will automatically rotate to however you hold it. But, holding down the power button is how you trigger Siri. So they sat it in a position that pushed in the power button, then got frustrated that Siri kept popping up and getting in their way. Oops.
Keep it charged
This one should be obvious, but keep a charger in a convenient place so you can make sure your iPad is ready to go when you need it. Apple advertises a 10 hour battery life for iPads and displaying music is not particularly power-intensive, so as long as you have a decent charge you should always be fine.
Be a good screen brightness citizen
Something I’m still self-conscious about is having a screen glow on me. In a more formal choral setting in a darkened theater, I don’t want to be the one illuminated face in a sea of faces. Set your screen brightness to a reasonable level, and use the settings tweak to auto-brightness I described earlier to keep it there.
This suggestion also applies when you’re not performing. More than once I’ve been in a dark bar or theater, and been blinded by a screen at 100% brightness being waved around. Don’t be that person!
What’d I miss?
Whew. Thanks for sticking around (or at least scrolling) to the end. If you feel like I missed something or just have a general comment, drop me a note at [email protected]. Would love to hear from you.
Now go bring more music and joy into the world!
